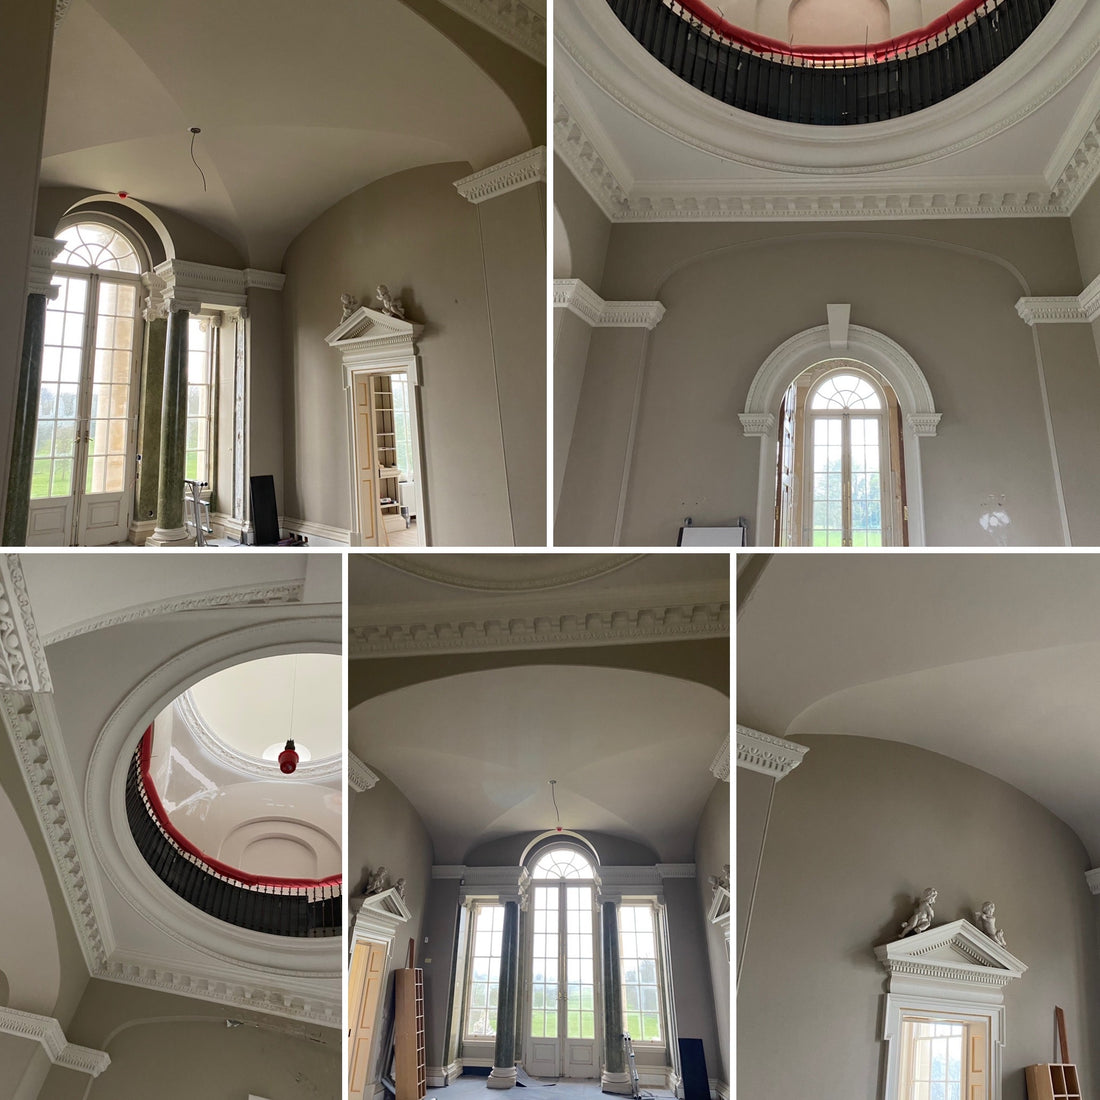
Grande Wisteria Mural - Stage 1 -Before shots & Preliminary work
Share
As I mentioned in my introduction of the mural, to have the opportunity to be commissioned for such a prestigious project was a "pinch me" moment. I had been recommended by the wonderful Simon Medlin who is a master wallpaper installer. He had installed a hand painted silk paper I had created for another client the year before. I then discussed the concept with the interior designers at Holly Johnson Antiques.
The first question was (after I had seen the ideas and the area to be painted was) "can you do it?............ "Of course I can" I replied......
This may sound over confident but I knew that the subject matter, a large wisteria in a loose painterly technique with a lot of scope for freestyle was something I was comfortable with. The whole site was having a major overhaul by specialist tradespeople and being overseen by site managers from an established company.
I knew I would be in safe hands regarding health and safety which is something artists have to think about when considering a big project which requires climbing up scaffolding etc. Not to forget the guarantee of staged payments on such a time consuming project.

After initial telephone conversations, I went down to Cheshire to view the site. This was January 2022 and I had to pencil in some start dates for the June.
I took lots of photos, a sketch book and was excited to try out my new laser measure for dimensions which could have been a 2 day job as the main room was 17 metres long and the dome area on the 2nd floor was huge. However the project manager had found some plans so my experimentation with the laser was a bit short lived.
I took lots of photos, a sketch book and was excited to try out my new laser measure for dimensions which could have been a 2 day job as the main room was 17 metres long and the dome area on the 2nd floor was huge. However the project manager had found some plans so my experimentation with the laser was a bit short lived.

The clients inspiration came after a hotel stay in London where they loved the wallpaper. They also loved an image online which they thought of for the dome area on the second floor. Later I sent some of my older sample pieces as I have painted the wisteria many times. One of the images is a detail of a silk wallpaper mural of mine.

Back in my studio...... I had to study the dimensions, approximately how much coverage would there be, what obstacles would slow me down or how much of the columns and ceiling was to be painted.

Before I could give a cost for the job, I actually had to do some very rough sketches and break them down into square metres. By now I knew what the technique would be so I could work out a cost per square metre. My costs are usually based on a 3 tier structure which takes into account scale, coverage, techniques, detail, skill, amount of prep etc.

I painted one or two early miniatures using the first colour references, not only for me to get a "feel" for the job but also to show the client. It was only at this stage was I able to work out a cost and timescales. This can be a bit of headache to work out sometimes but this job had to be planned meticulously as I would be working in between other tradespeople and scaffolding to be booked in. Thankfully my interior design and product development skills kicked in as I have often worked with the "critical paths" of industry.
At this point I worked out a cost for the total project with schedule. which was presented to the client.
I have to add that there was the added cost for preliminary prep work.
I always do this separately as it can be a lot of to-ing and fro-ing and changes in ideas. Also sometimes a client wants you to do a lot of experimental work which can be at the artists expense.
Follow the next stage of the mural where I shall be sharing all the prep work, sketches, samples, colour planning and layouts for each wall.


